Aliens M41A Pulse Rifle - Measuring the Thompson.

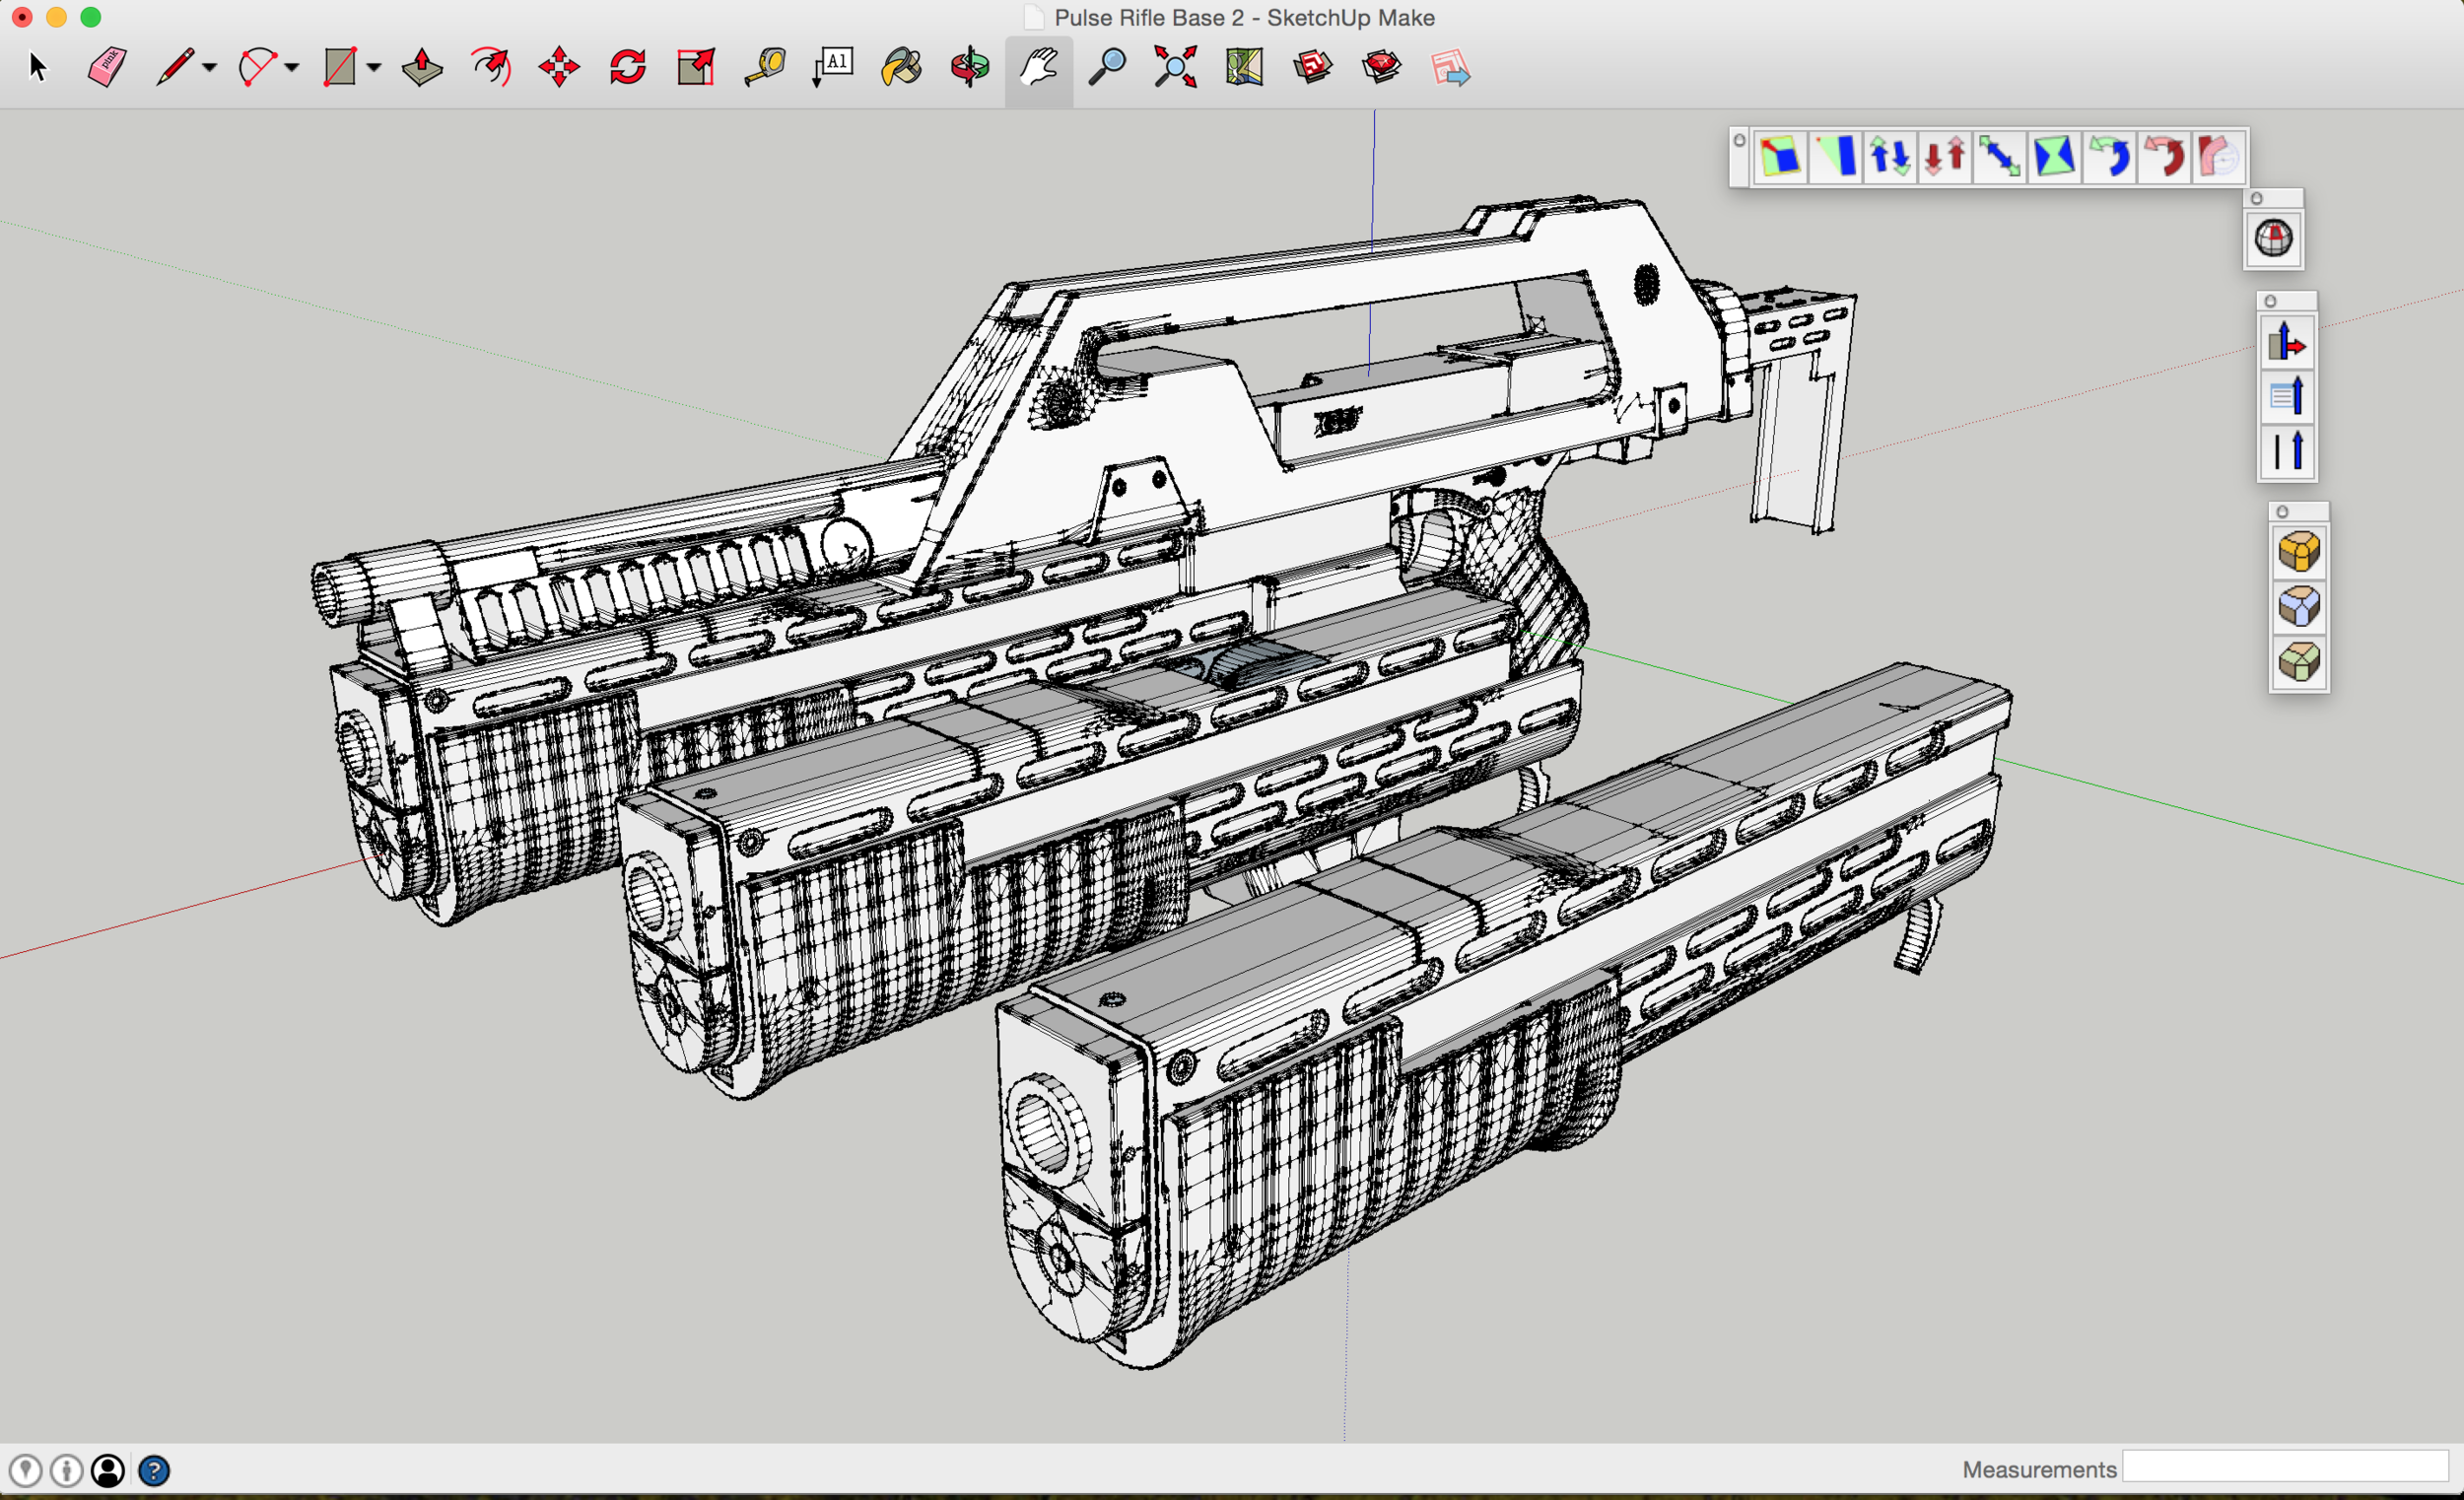
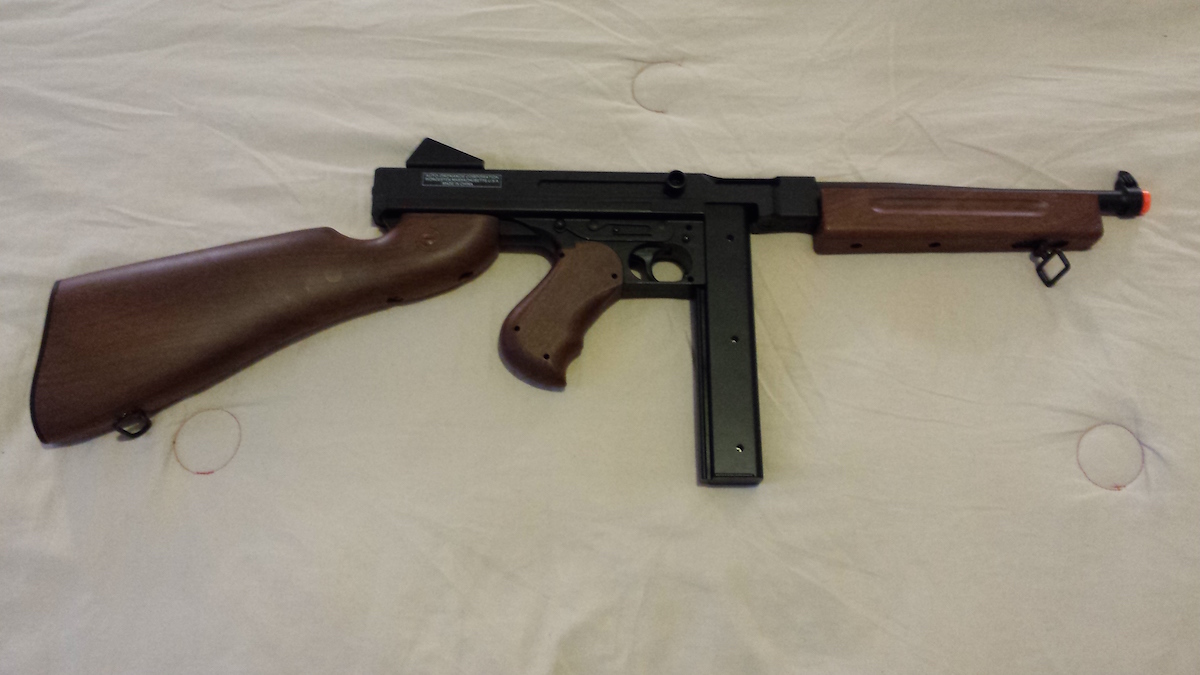
Before proceeding with the rest of the pulse Rifle, I'll need to spend time looking closely at the Airsoft Tommy gun I'm using as the base. 

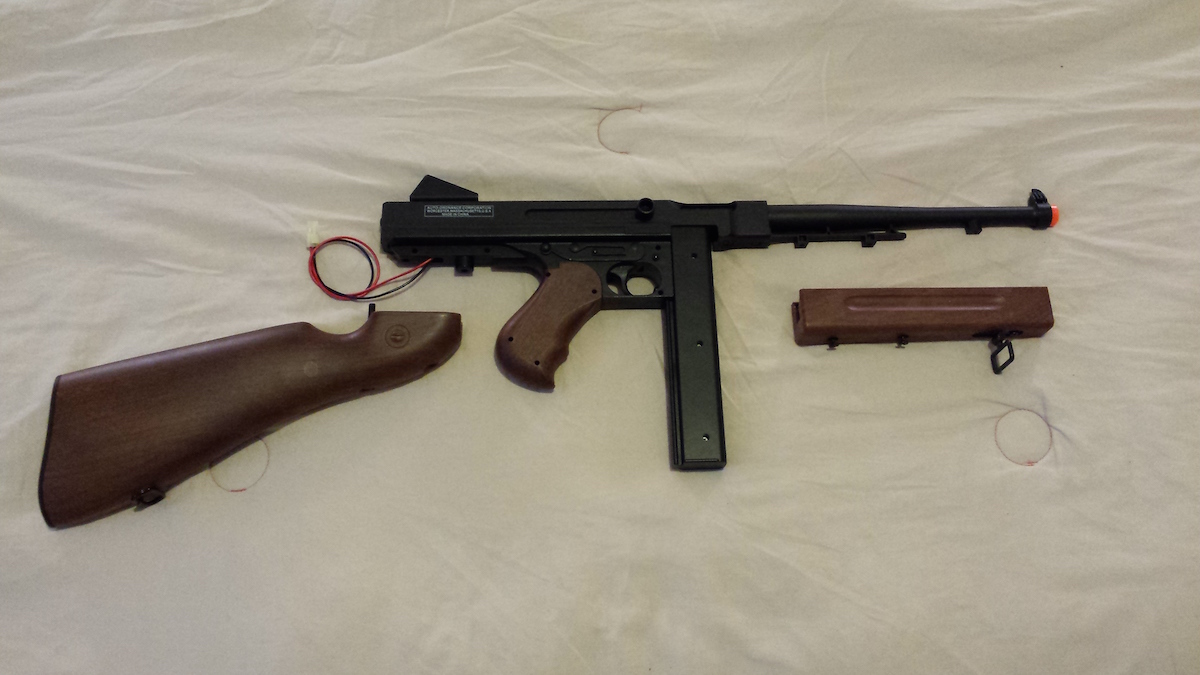
To start I'll need to remove the Thompson's stock, foregrip and rear sight.

The Stock and Foregrip are each held on by 2 screws.  Unscrew them and the parts pull right off. The gun's battery is normally housed in the stock, so i'll have to reroute those wires and create a new battery holder somewhere in the rifle.

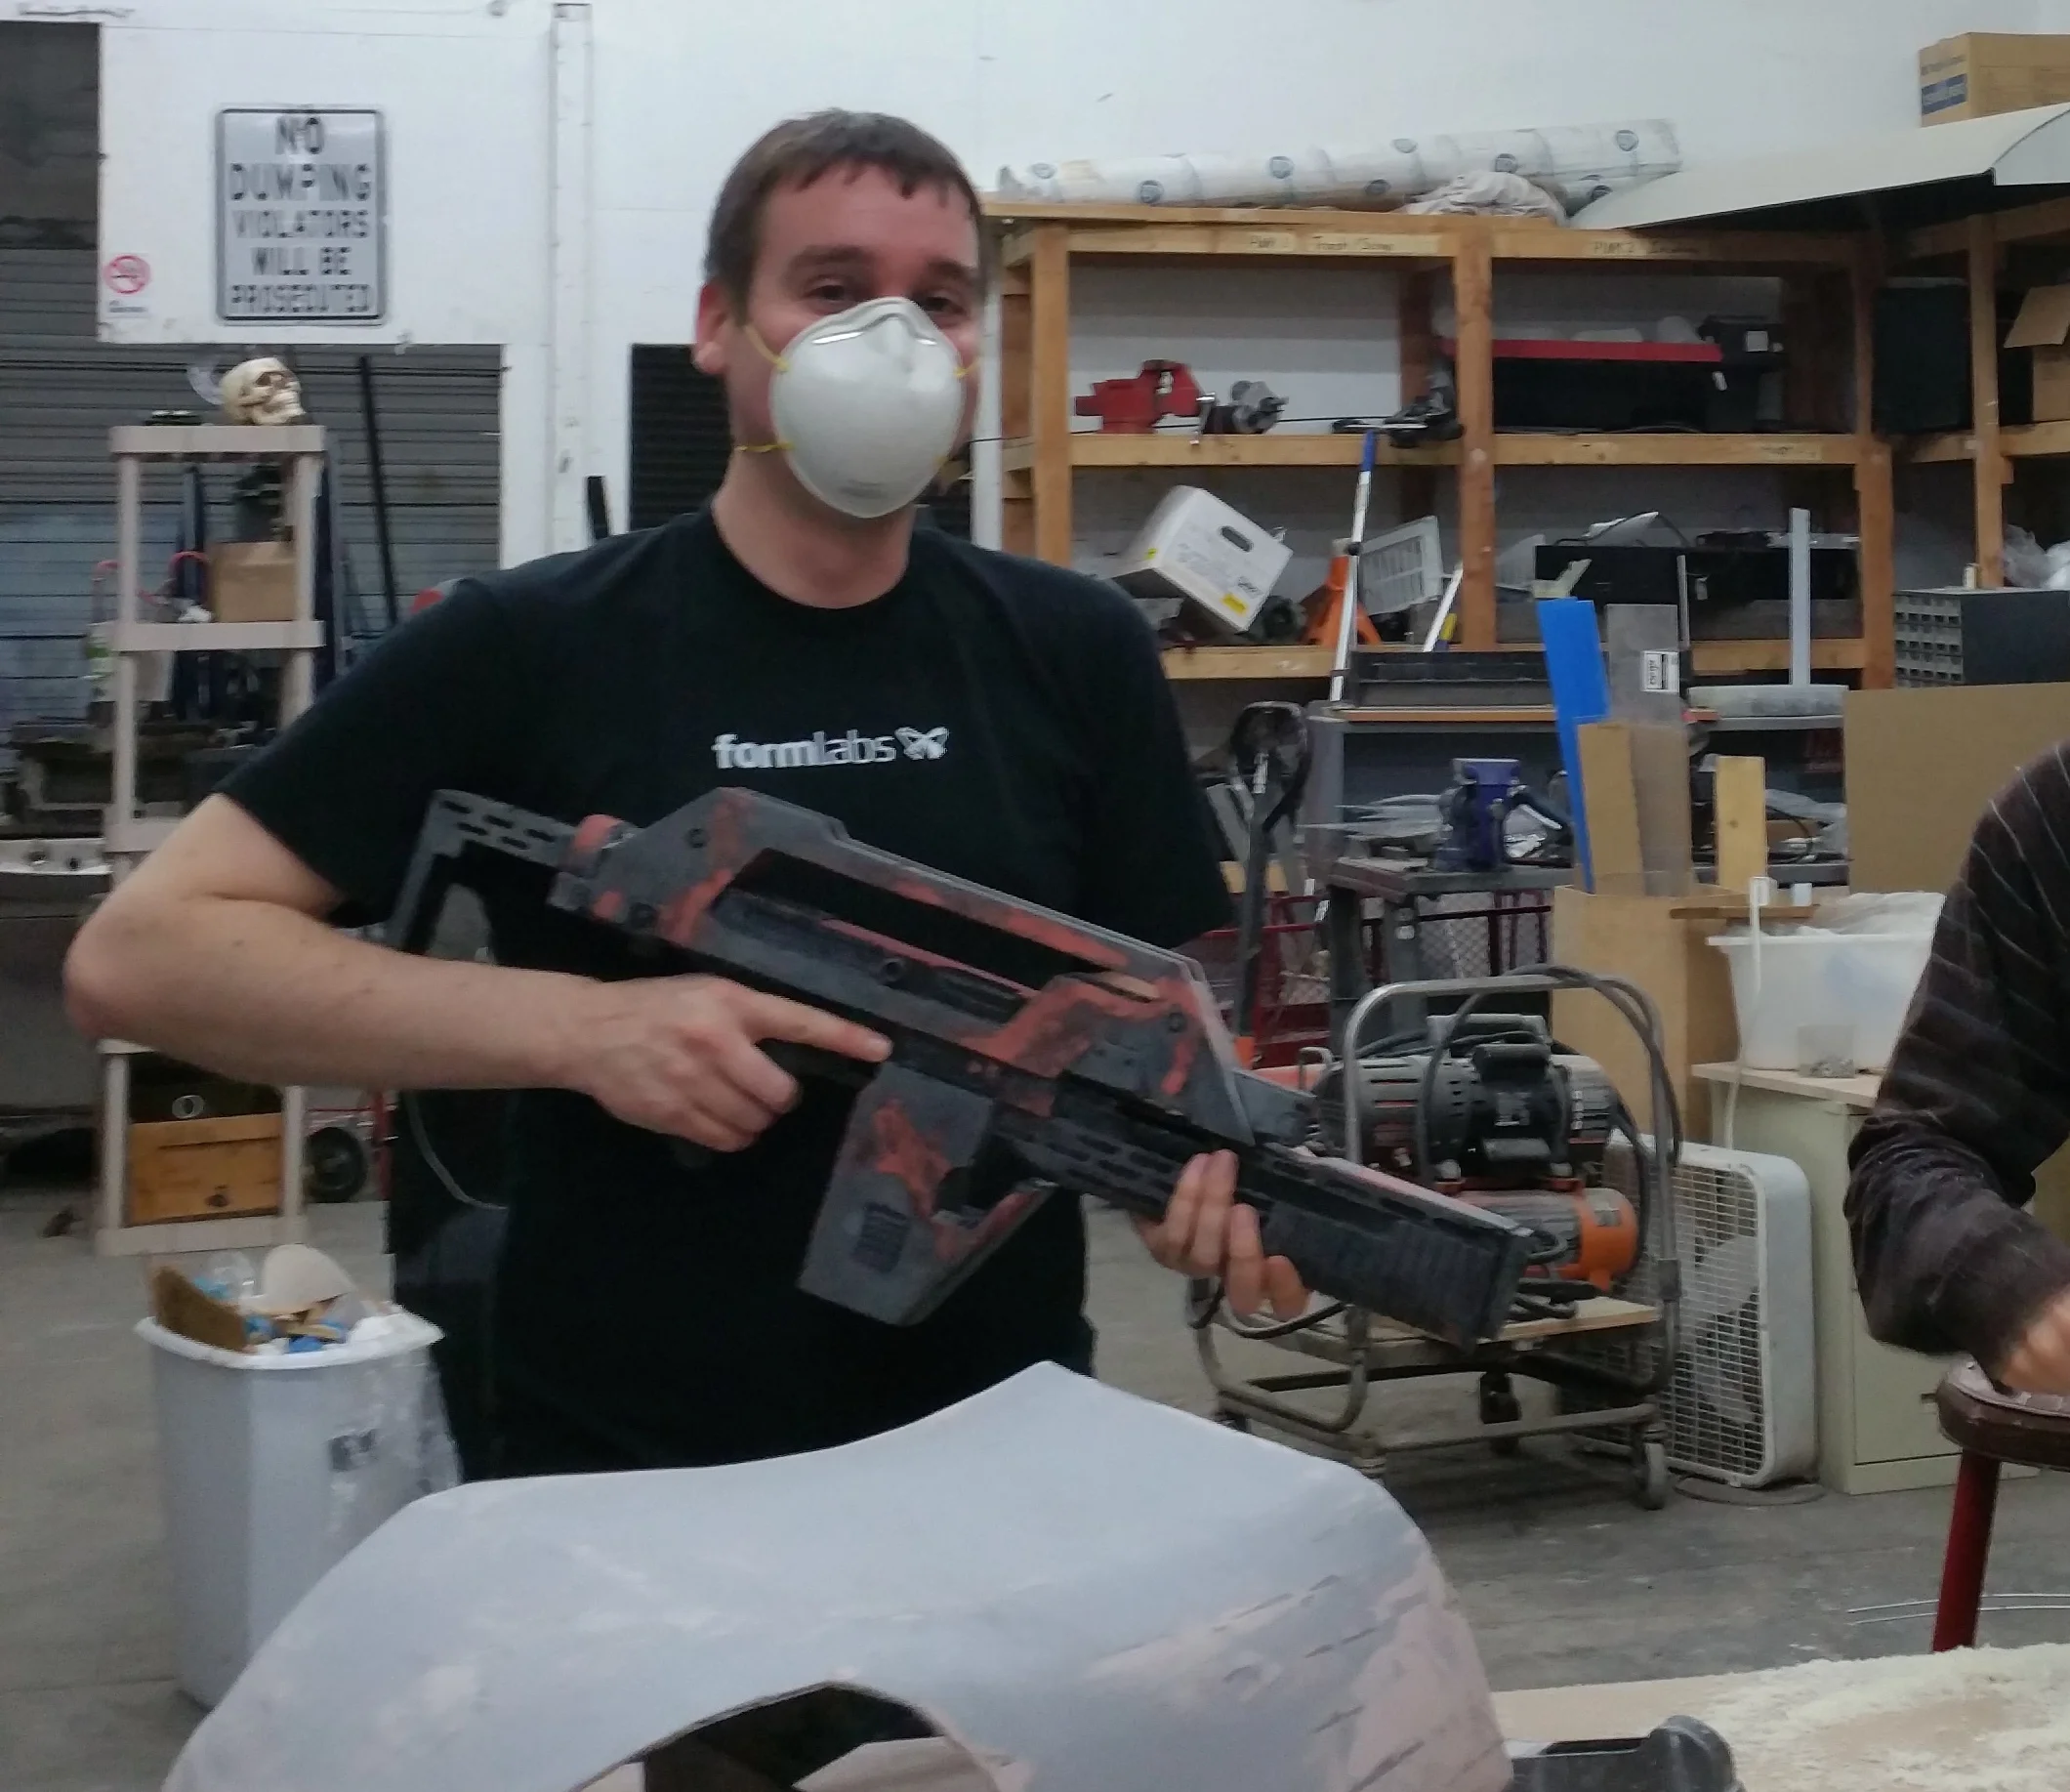
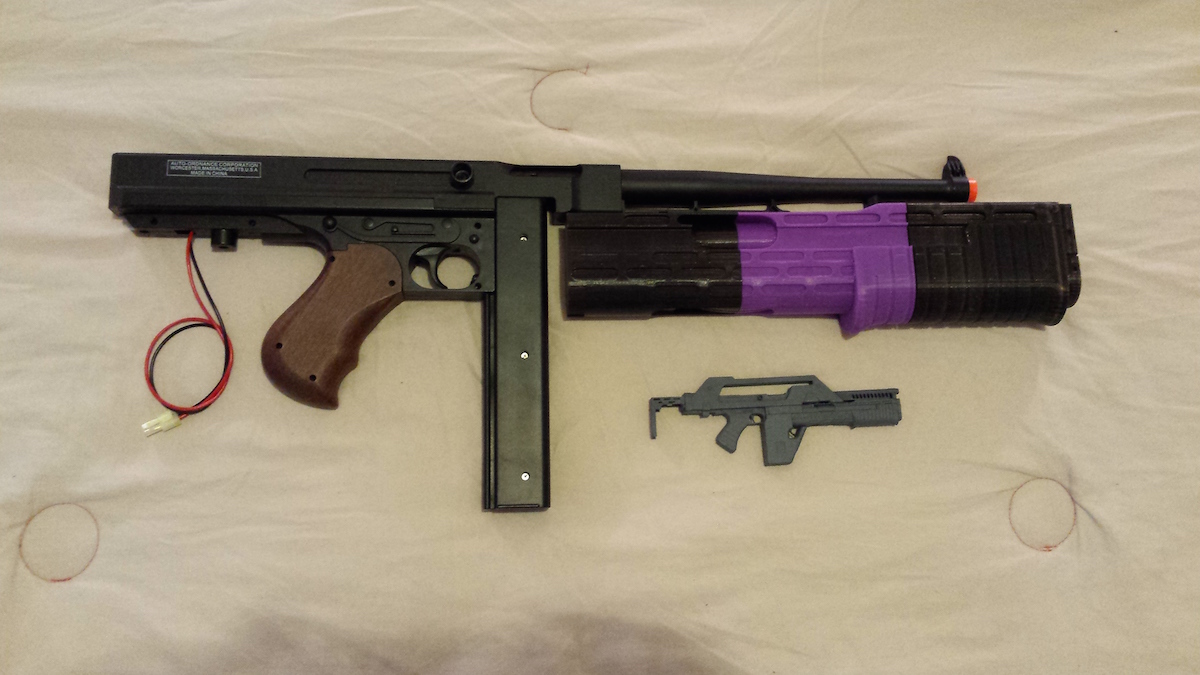
Removing the rear sight was a bit more tricky, involving removing the upper receiver and unscrewing four small interior screws. With the grenade launcher and the reference model, we can start to see the basic shape of the pulse rifle.

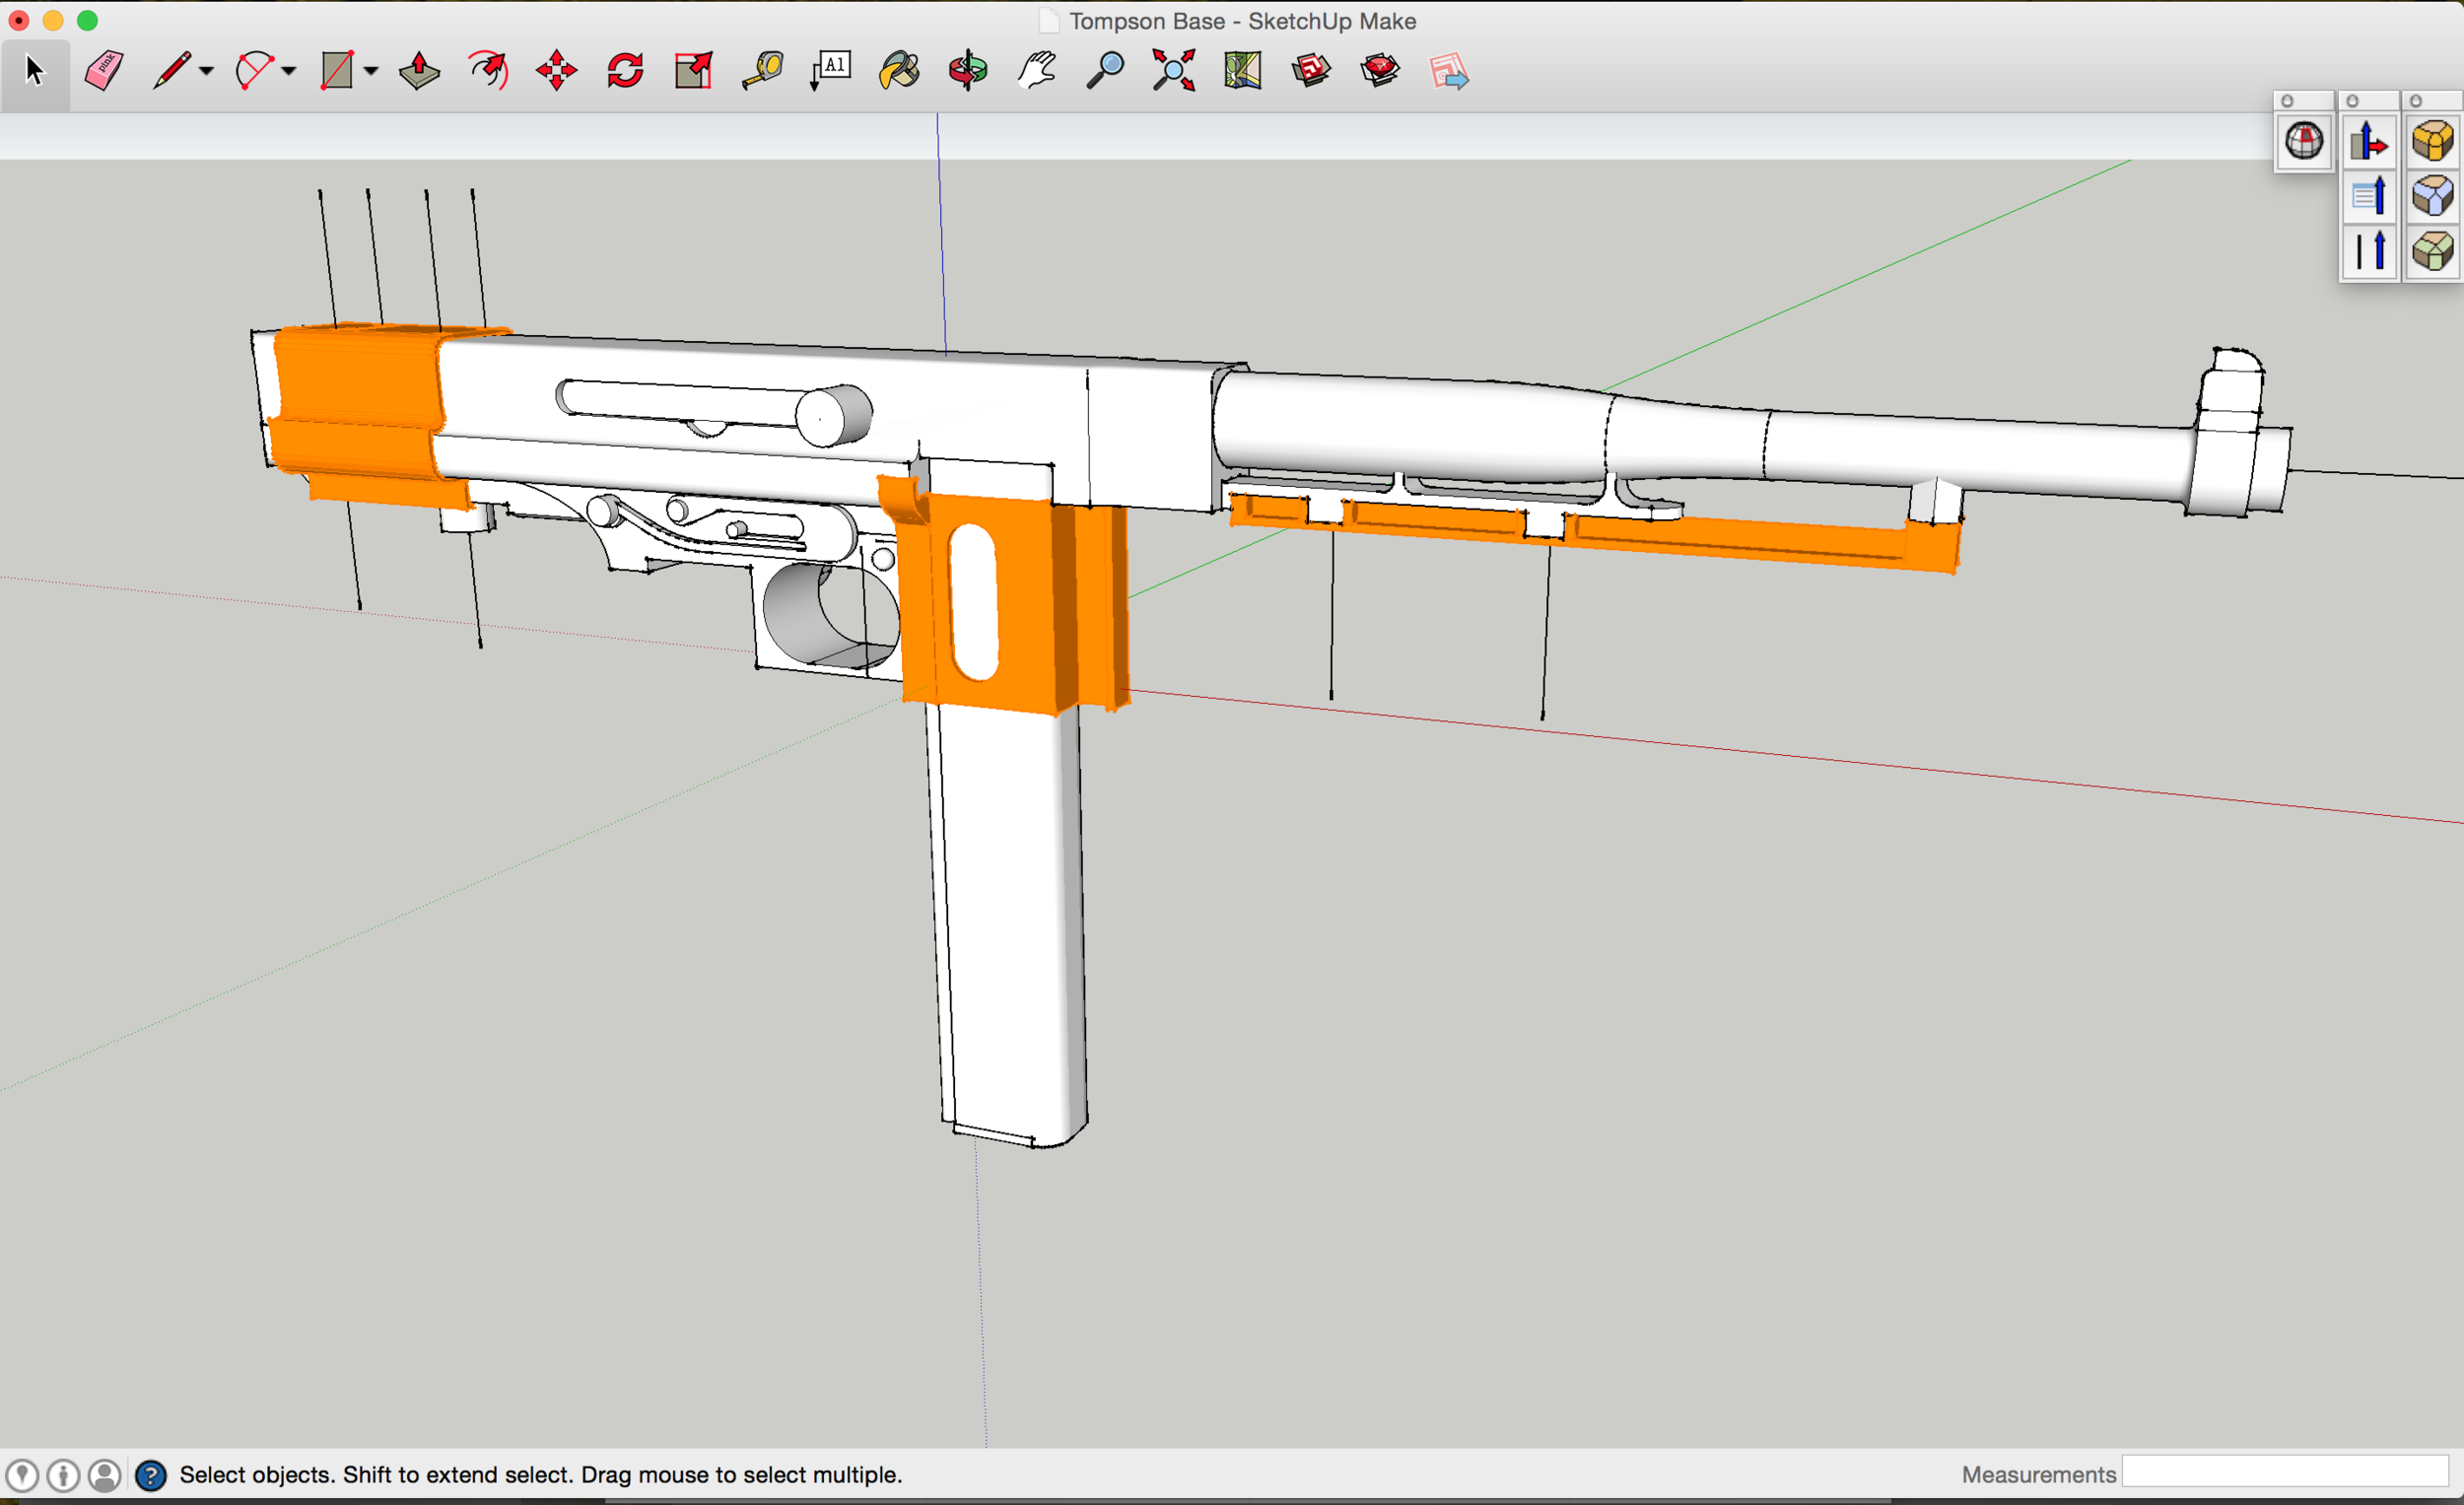
I need an accurate digital representation of the Thompson to work around as I model the body of the pulse rifle. With calipers and a bit of patience, I reconstructed the Tommy Gun inside sketchup.

I didn't bother measuring and modeling the pistol grip, because there is no part of the Pulse Rifle body that touches that area. No need to waste time accurately creating something I won't need. 

The most important parts of my digital reconstruction are the places where the Pulse Rifle body will touch the Thompson. To confirm the accuracy of those areas, I created test geometries to 3D print and fit onto my real world Thompson. If the parts fit, my measurements are accurate, and I can get started on the hard part.


Aliens M41A Pulse Rifle - The Grenade Launcher

In the original Pulse Rifle the underbarrel grenade launcher is a shortened, repurposed pump action shotgun. To simplify this project, and because airsoft pump action shotguns are surprisingly expensive, we going to use the Launcher from the Thingiverse 3d Model as a substitute.

I adjusted the Pulse Rifle 3d Model to the correct scale using measurements from the Airsoft Tommy Gun and cut the launcher away from the rest of the rifle. A little clean up work later and we have the launcher as a single solid object.

To fit the 350mm long Launcher into my 150mm tall MakerBot Replicator it has to be cut into 3 parts using SketchUp. I also added attachment pegs to each section to simplify reassembly.

Front and Rear sections of the launcher are easy to print, but the center section will need support material. MakerBot Desktop’s supports are a pain in the ass, so instead I'll use Meshmixer. Meshmixer lets you create minimal supports only where you needed them. They work great, are easy to remove, and are much more efficient.

Estimated Print Time with Makerbot supports, 11 hours.  

Estimated Print Time with Meshmixer supports, 6 hours. 

The finished launcher looks great.  A little modeling putty and some sanding will have it ready for paint in no time. Unfortunately, something is off. Look closely at the small reference model I printed on my Form 1+.

The Thomson's barrel is about 30mm too short. Damn.  

After rechecking my measurements, I have to conclude the original Pulse Rifle didn't use the stock Thomson barrel.  I'll have to look into ways to fix this.   

Aliens M41A Pulse Rifle - Getting Started

There are dozens of Pulse Rifle kits available and sections of the Replica Prop Forum dedicated to building them properly. I however, being a bit of a design masochist, am going to build it my own way. I'm not breaking any new ground, every conceivable permutation of Pulse Rifle has already been done, but this project is just for fun.

From my research, I know the original Pulse Rifles were made from World War 2 era Thompson submachine guns. If you look closely at the gun Ripley is holding in the screenshot, you can see the charging handle, ejection port, upper receiver, and barrel.  

Or you can just trust me... Its in there.

I’m going to start my build from an Airsoft replica of a WWII M1A1 Thompson. Starting here will simplify my build by giving me something with known dimensions to work around. As a bonus, the final creation will fire Airsoft BB's. I'm also going to use this 3d model of a Pulse Rifle from Thingiverse as a guide. It’s the same 3d model Freeside used to print their rifle, and it will save me a lot of time working out the weapon’s proportions.


Aliens M41A Pulse Rifle

I recently had the pleasure of hanging out with the awesome people at Freeside, Atlanta’s Hackerspace. We were lucky enough to be in town for one of Freeside’s ongoing cosplay group build nights, where they are building equipment of a squad of Colonial Marines from the Aliens. I got to help sand their pulse rifle master…

That dust mask, is hiding a huge smile.  Image by Melinda Cross.

That dust mask, is hiding a huge smile.  Image by Melinda Cross.

Which reminded me…

Long ago, during high school in Alabama, I wanted to build a Pulse Rifle. At the time I was interested in so many things and didn't have a clue how to do them. I also didn't have any money, and was a little worried how my parents, dyed into wool anti-gun new englanders, would respond to their son building a sci-fi machine gun in the basement.

But now I'm an Adult, with an income, and a bunch of 3D Printers…

So I'm going to build my own very own Pulse Rifle.

I'll post updates and files as I work, so you can come along for the ride.


Formlabs Tiny Television

Long ago in a place called suburbia, science fiction offered a future where anyone with fishbowl and a raygun could be a spaceman. The heros were good, the villains were evil, and the rockets had style. Propelled across the galaxy by plutonium and a can do-attitude, adventure was limited only by your imagination.

The Tiny TV is inspired by the Philco Predicta, an iconic if flawed hallmark of the 1950’s, and concept art by Dave Schultze. Built around a 2” LCD display from Adafruit, the Tiny TV was printed on the Form 1+ in Formlabs clear resin. The front lens was polished clear, and the body was sanded and painted. It works best when paired with hottest coming attractions of the 1950’s.

The Tiny Television was created in collaboration with Formlabs as part of a study into their outgoing marketing channels.

Small Motor Creations 6 - Orbital Gearboxes

Our little motors are great, but they spin so fast that its hard to use them directly for things that require lower RPM's, like wheels. To make the little FA-130's more useful we need to build a gearbox to slow the motor down and transform some of that speed into torque.

Orbital Gearboxes are one of my favorite solutions. They offer a range of input and output options in a nice compact package.  You'll find them in power drills, cars, cranes, pretty much everywhere there is an electric motor. These two gearboxes are bases on the same set of components, with different sections of the mechanism being used as the output.

In the Orange Gearbox Input through the Sun Gear at the center and output is through the Ring Gear that runs around the outside. The three Planet Gears act as idler gear, carrying movement from the Sun to the Ring.

The Sun Gear has 12 teeth and the Ring Gear has 60 teeth. In this case the Planet Gears don't affect the gear ratio because as idlers they are just carrying movement from one place to another. To get the gear ratio for this gearbox we divide the number of teeth on the output gear by the number of teeth in the input gear. That gives us a Gear Ratio of 5:1, so for every 5 turns of the input gear we get 1 turn of the output gear.

The Gray Gearbox uses the Sun Gear as its input and the Planetary Gear Carrier as its output while the Ring Gear is held stationary. The Carrier is the structure that holds the Three Planet Gears. As the Sun gears turns, the planets are spun between the Ring and Sun. The Carrier makes a revolution each times the Planets go around the Sun, Thus the name Orbital Gearbox.

The Gear Ratio for this gearbox is a bit more complex.  In this configuration the ratio is the number of teeth in the Sun Gear divided by the Sum of the Number of Teeth in the Ring and Sun Gears.  So in this case 12/(12+60) = .0138. For every input turn we get 0.0138 output turns. To clear things up we'll divide 1 by 0.0138, which is approximately 72. This gearbox has a ratio of 72:1, so for every 72 turns of the input we get 1 turn of the output.  And that is why I love orbital gearboxes, big ratios in tiny little packages.

For more information about orbital gearboxes I would highly recommend this article at Woodgears.ca  https://woodgears.ca/gear/planetary.html 

Download the Orbital Gearboxes Files From Thingiverse: http://www.thingiverse.com/thing:605701

FA-130 Size Motor At Pololu: www.pololu.com/product/77